Lettuce Microgreens: Everything You Need to Know to Grow Them
Hi everyone! We’re starting a new section where we’ll explain how to grow each variety of microgreens. We’ll talk about their characteristics, how to cultivate them, and share some practical tips based on our own experience.
At our office, we’ve mainly grown broccoli, lettuce, mustard, and red amaranth. Soon, we’ll be expanding our mini garden with green peas, wheatgrass, and sunflowers. We’re excited to share it with you!
So, let’s start with one of the easiest: lettuce microgreens!
We believe lettuce is one of the easiest microgreens to grow, which is why we chose it to launch this section.
What materials do you need?
- Lettuce seeds: You can easily find them in specialty stores or online.
- Containers: Shallow trays are ideal. The size depends on how much you want to grow.
- Potting soil (substrate)
- Spray bottle or watering can with a fine diffuser
- Sunlight or artificial grow lights: If you’re growing indoors like we do, LED lights are a great option.
Step-by-step guide to growing lettuce
- Prepare the container: Use a tray with good drainage. Wash it thoroughly with soap and water before you start.
- Add the substrate: Fill the tray with soil and moisten it.
- Sow the seeds: Spread the seeds evenly over the soil. It’s not necessary to cover them with soil—just press them gently to ensure good contact with the substrate.
- Water gently: Use a spray bottle to keep the surface moist without displacing the seeds.
- Light and location: Place the tray in a well-lit area or under grow lights if indoors.
- Maintain moisture: Water regularly, but avoid overwatering.
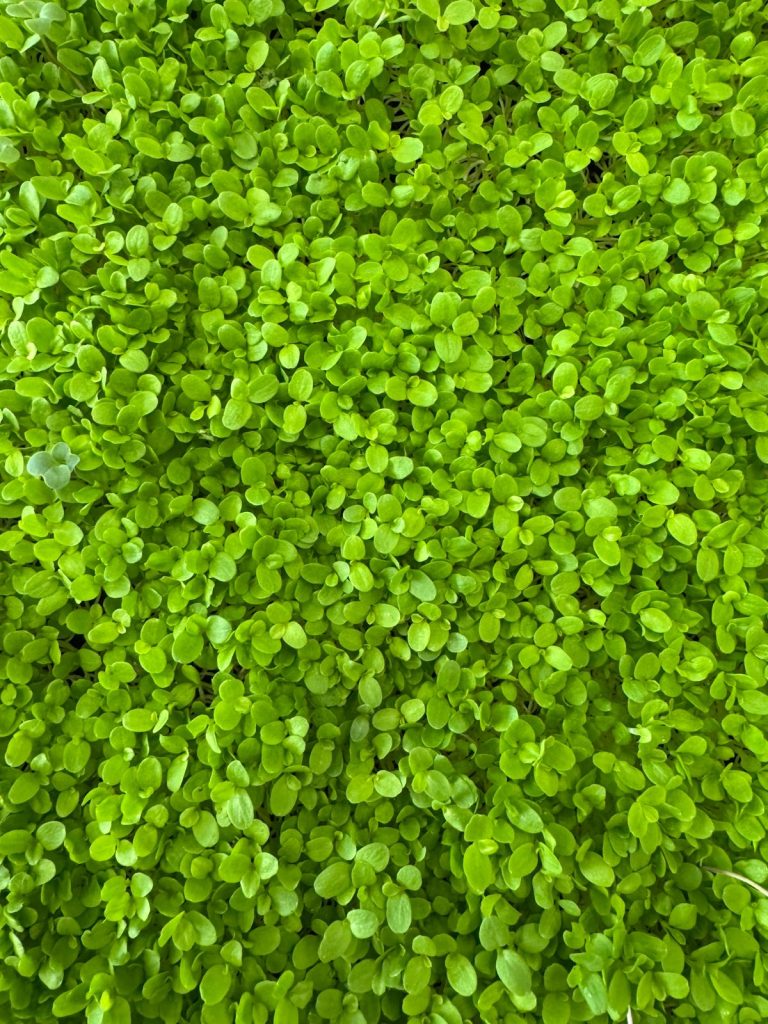
- Harvest: Usually between 1 and 3 weeks later. Use clean scissors and cut just above the soil line.
And that’s it!
Now you have your first batch of lettuce microgreens. Easy, tasty, and full of nutrients. In our next post, we’ll talk about the broccoli microgreens we’re growing in the office.
Thanks for joining us on this green adventure!
Carlota